Class 10 - Feb 22
- Color Correction
- Looping, Perfect Loop, Retiming
- Cinemagraph Assignment Work Time
- Assignment:
- Reading:
- Mueller Chp. 5
- Tutorial:
- Cinemagraph 01 OR Cinemagraph 02
- Alternatively, search for and explore other cinemagraph tutorials
- Announcements:
- Crossman Gallery: Reading Material, Opening Reception Thurs Feb 22 5-7pm
- Sonict Concert: Thurs Feb 22 7:30pm Light Recital Hall, $3 students
- Milwaukee Comic Con: WI State Fairgrounds Feb 24 10-4pm
- Theater Dance: Street Scene, Feb 25 & 27, March 1 & 3
- Weekend Movie: Coco, Summers Auditorium, $1 w/ hawkcard
- Time Wasters:
- Eyecandy : cinemagrphs.com
- History : Wikipedia on Cinemagraph
Color Correction
An important part of post-production is called color correction. It is likely the least recognized aspect of a post-production workflow. The reason for this is that it effects the appearance of everything in a sequence and isn't necessarily an obvious adjustment to pick out. However, there is a drastic and recognizable different between footage that is color corrected and footage that is not... especially if they are seen side-by-side. We will take some time today to review color correction process so that you can incorporate it into your workflow in the future.
- General Considerations for Color Correction
- Luma or Exposure: is the footage too dark? too light?
- White Balance: does white appear white?
- Black & Contrast: does black look black? is there enough contrast from light to dark?
- Tint or Tone: is there a color tint or tone that dominates?
- Skintone: does the person's skin look natural in color?
- Stylize: is there a need for the color/tone to be stylized?
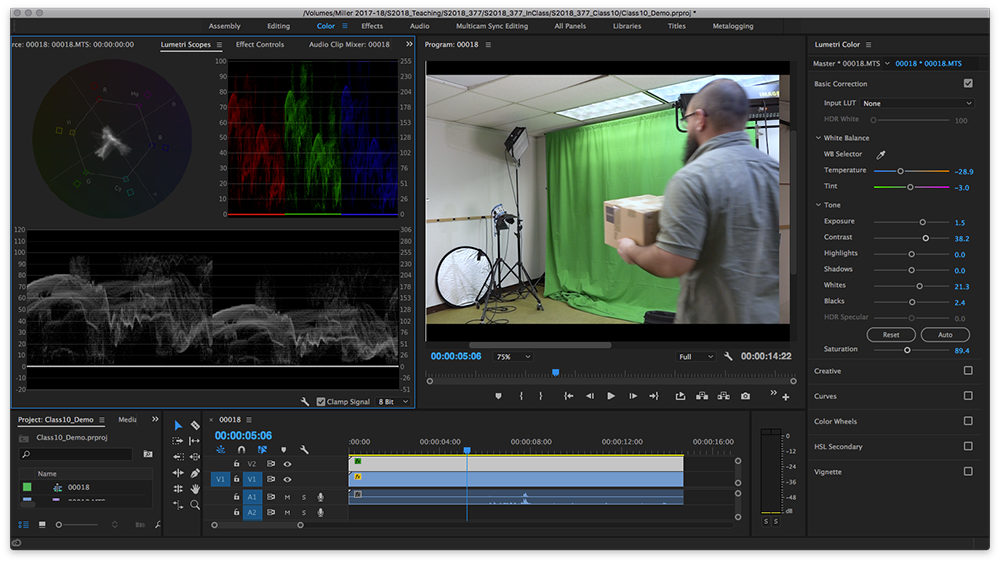
Use the "Color" workspace in Premiere to make it easier to manage color corrections. It provides a mulitude of tools for considering how one might make adjustments. In addition to our normal output preview, there is also the option for "scopes" which create a graphic representation of how color or brightness are distributed within the frame. They are a useful reference in addition to the output. The tools for working with color correction in Premiere is called Lumetri and there are a number of different Lumetri tools. To begin with, it is recommended that you use the "Basic" panel until you are comfortable with making corrections and ready to branch out further for refining.
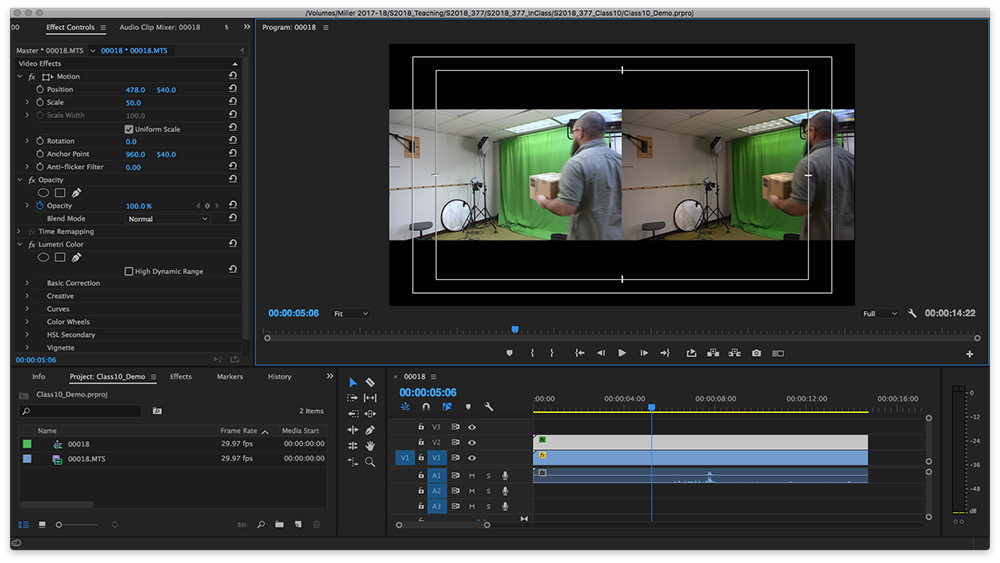
Looping and Retiming
Assignment 4 is our cinemagraph assignment. In order to achieve the desired effect in the assignment, it is necessary to work towards a perfect or seemless loop. You will need to understand a little about retiming video and some strategies for creating loops in order to successfully create a cinemagraph. Some guidelines for processes related to looping will be demonstrated in class. Workflow should follow these steps once your footage is shot:
- Create Premiere Project and Import Footage
- Identify segment of footage that will be used for loop
- Move selected footage to timeline and perform any necessary color corrections
- Create a still or hold frame for your base layer - background
- Create a layer with the footage that will be looping
- Create Masks and Rotoscope
- Looping Options:
- Identify leading and ending frames that are extremely similar (rotating record)
- Split or Cut footage in the middle, and swap beginning and end with some overlap, dissolve in the middle where they overlap
- Layer rotoscoped footage and repeat within longer still frame
- Any other way to match first and last frames
- Retiming Options:
- Control+Click Footage - Speed and Duration
- Time Remapping Keyframe(s) and Time adjustments in sequence/layer
- AE - Time Stretch and Time Remapping
- Preview as loop (adding loop button etc)
- Rinse and Repeat until you get the loop to work correctly
- Add Slate and Export Video
- Create GIF in Photoshop with legacy "Save For Web"
- Preview
Assignment Work Time
Use the remaining time in class to continue developing your Assignment 4 cinemagraph. During this studio work time, you may work together, ask questions, get feedaback, or continue exploring the process. It is recommended that you work in a flexible way and perhaps create more than one cinemagraph. Creating more or multiple versions will give you the ability to select what works best as your submitted files.